What Is Sewer Cap & How To Replace It?
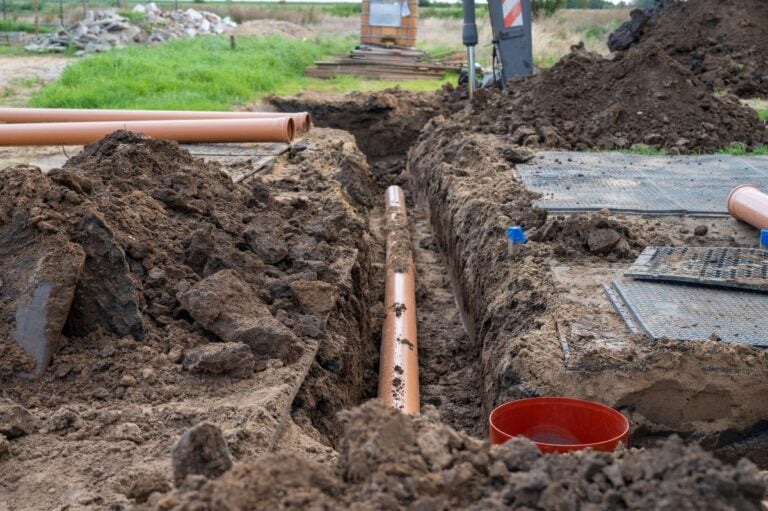
If you have ever noticed a small pipe sticking up in your yard or near your foundation, you may have wondered what it does and whether it matters. That small but essential component is a sewer cap, and it plays a major role in protecting your home’s plumbing system. When it becomes damaged or missing, it can lead to odors, backups, and costly repairs. In some cases, deeper issues may require professional sewer line repair solutions to fully resolve the problem.
In this guide, you will learn:
- What a sewer cap does and why it matters
- Signs your sewer cap needs replacement
- Step by step instructions to replace it
- When to call a professional
- How to prevent future sewer issues
Why a Sewer Cap Is So Important for Your Home
Your plumbing system is designed to move wastewater safely away from your home. While most of that system is hidden underground, the sewer cleanout and its cap are exposed and vulnerable. The cap may look minor, but it serves as a protective barrier between your sewer line and the outside environment.
Without a properly functioning cap, your home in Seattle and surrounding areas could face unpleasant and expensive consequences. In fact, according to the Insurance Information Institute, water damage and freezing account for nearly 29% of homeowners insurance claims. Sewer backups and drainage failures are common contributors to these costly losses, which highlights why even small components like a cleanout cap deserve attention.
Here is why this component matters so much:
- Prevents Sewer Gas Odors: The cap seals the cleanout pipe tightly, stopping harmful and foul smelling sewer gases from escaping into your yard or home.
- Keeps Debris Out: Dirt, rocks, leaves, and trash can easily enter an uncapped cleanout, leading to clogs and blockages.
- Blocks Pests and Rodents: Open pipes are an invitation for insects and small animals to enter your sewer line.
- Maintains System Pressure: A sealed system ensures proper wastewater flow and helps prevent backups.
- Provides Emergency Access: The cap allows plumbers to quickly access your sewer line for inspections and clearing clogs when needed.
Homeowners often overlook this simple fitting until something goes wrong. Regular inspection can save you from major headaches later.
4 Common Problems and How To Replace a Sewer Cap
Before jumping into replacement, it is important to understand why sewer caps fail in the first place. Weather, lawn equipment, aging materials, and shifting soil all contribute to wear and damage over time.
If you suspect an issue, here is how to identify the problem and replace the cap properly.
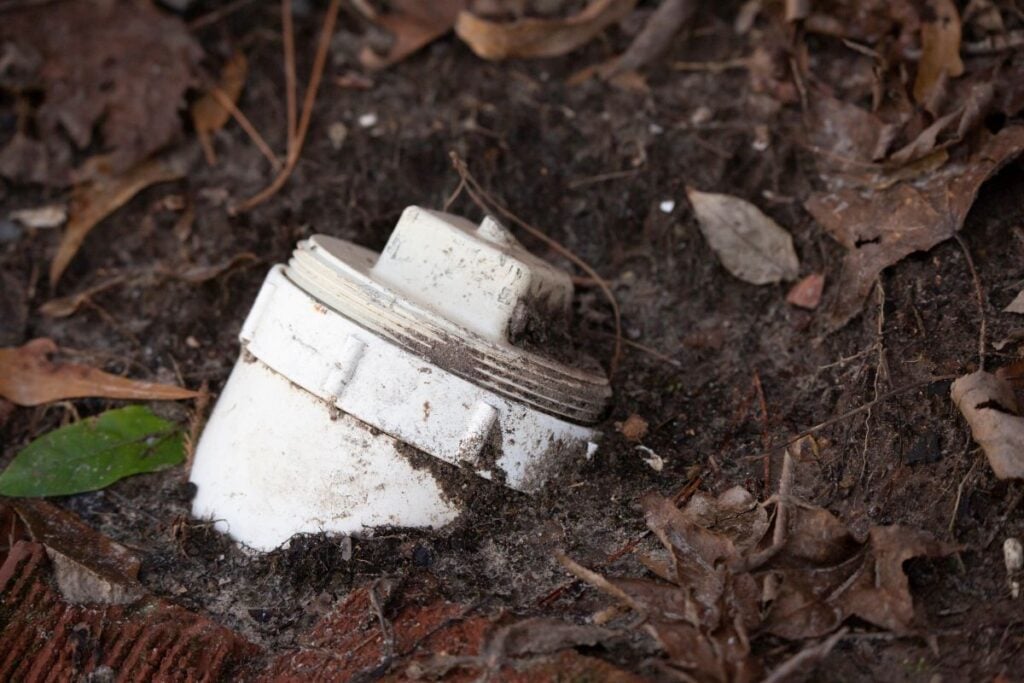
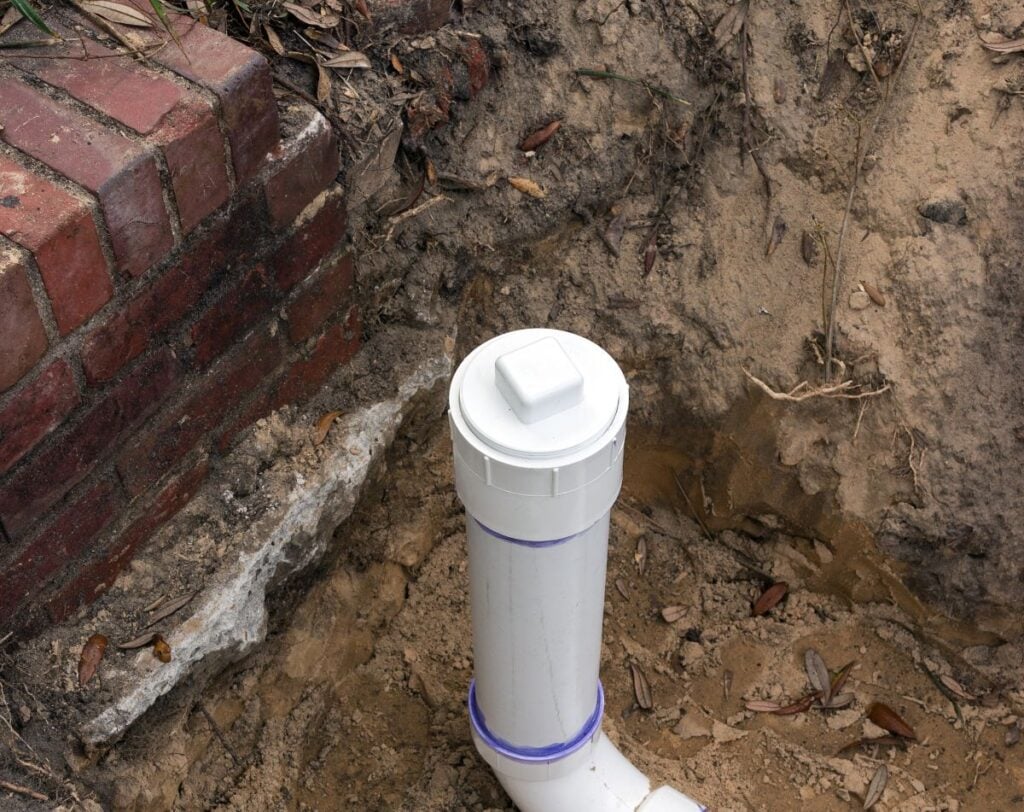
1. Cracked or Broken Cap
Plastic caps can crack due to sun exposure, freezing temperatures, or accidental impact from lawnmowers. Once cracked, they no longer create a tight seal.
Signs of a cracked cap include:
- Visible fractures or missing pieces
- Noticeable sewer odors
- Loose fitting on the pipe
To replace it:
- Remove the damaged cap by turning it counterclockwise with a wrench or large pliers.
- Clean the threads on the cleanout pipe using a wire brush.
- Apply plumber’s tape to the threads if needed.
- Screw on the new cap securely by hand, then tighten gently with a wrench.
Avoid overtightening, which can cause future cracking.
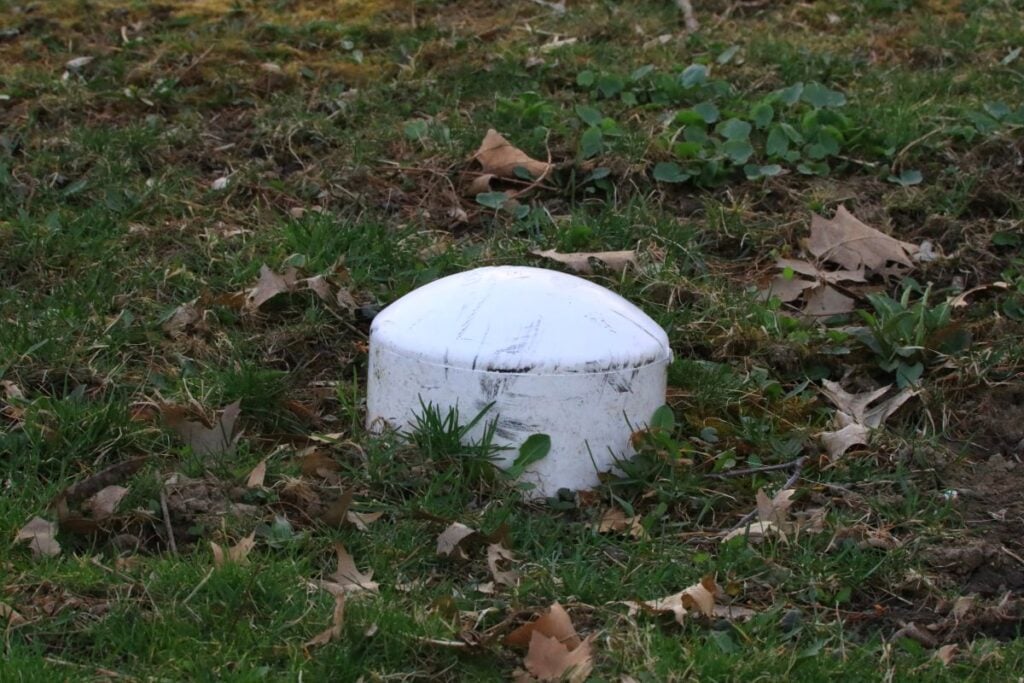
2. Missing Cap
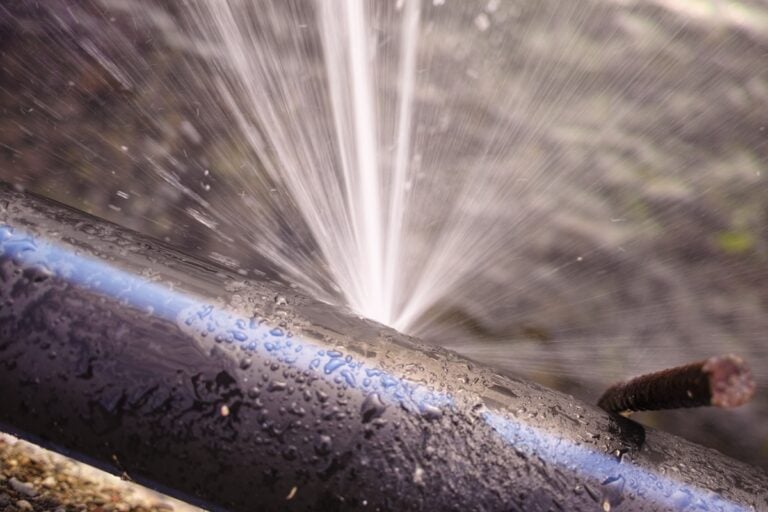
Sometimes caps go completely missing. This may happen during landscaping work or after heavy rain causes movement in the soil.
An open cleanout pipe is a serious issue. It allows:
- Rainwater to enter the sewer system
- Debris to create blockages
- Strong odors to escape
- Pests to enter the pipe
To fix this:
- Measure the diameter of the cleanout pipe. Common sizes are 3 inches or 4 inches.
- Purchase a replacement cap that matches the pipe material and size.
- Inspect the pipe threads for damage before installing.
- Secure the new cap tightly.
If the threads are stripped or broken, you may need professional assistance to repair or replace the fitting.
3. Stuck or Seized Cap
Older metal caps can corrode and become extremely difficult to remove. This becomes a problem when you need emergency access during a backup.
If your cap is stuck:
- Spray penetrating oil around the threads.
- Allow it to sit for at least 15 minutes.
- Use a pipe wrench for better grip.
- Apply steady pressure instead of sudden force.
If it will not budge, forcing it may crack the cleanout pipe itself. At that point, contacting a professional is the safest option.
4. Improperly Installed Cap
Sometimes a cap is cross threaded or loosely installed, preventing a proper seal. Even a small gap can allow odors and gases to escape.
To correct this:
- Remove the cap completely.
- Inspect threads for damage.
- Reinstall carefully, ensuring it threads evenly and sits flush.
A properly seated cap should feel snug but not overly tight.
How To Tell If the Problem Goes Beyond the Cap
While replacing a sewer cap can solve minor issues, sometimes it is a symptom of a larger problem within your sewer line. Homeowners in Seattle and surrounding areas should watch for warning signs that indicate deeper trouble.
If you notice any of the following, the issue may not be limited to the cap itself.
Frequent Drain Backups
If sinks, tubs, or toilets back up repeatedly, the problem may lie in the main sewer line rather than the cleanout cap. A missing cap might allow debris inside, but ongoing backups usually signal a blockage or pipe damage further down the line.
Standing Water Near the Cleanout
Pooling water around the cleanout pipe often indicates a clog or break in the sewer line. In this case, replacing the cap alone will not fix the root cause.
Strong Sewer Odors Indoors
Persistent smells inside your home could mean:
- A cracked sewer line
- Loose plumbing connections
- Vent stack issues
- A compromised cleanout fitting
Professional inspection tools such as sewer cameras can pinpoint the exact source of the issue.
Soggy or Sunken Yard Areas
If sections of your lawn appear unusually green, wet, or sunken, wastewater could be leaking underground. This requires immediate attention to prevent structural damage and contamination.
Recognizing when a simple replacement turns into a larger repair can save time and money. Acting quickly helps prevent property damage and protects your home’s foundation.
Choosing the Right Sewer Cap for Replacement
Not all caps are the same. Selecting the proper material and design ensures durability and long term performance.
Before purchasing, consider the following factors.
Material Options
Different materials offer different benefits:
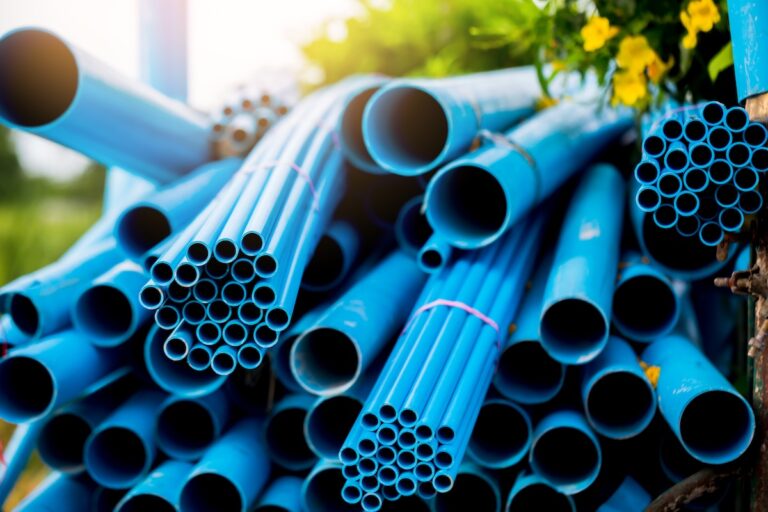
- PVC Plastic: Affordable, resistant to corrosion, and easy to install. Ideal for most residential applications.
- ABS Plastic: Strong and impact resistant, commonly used in modern plumbing systems.
- Brass or Metal: Durable but prone to corrosion over time if exposed to moisture and soil conditions.
PVC is widely used in residential plumbing because it resists rust and handles moisture well in underground environments.
Threaded vs. Expansion Caps
There are two main types of caps:
- Threaded Caps: Screw directly onto the pipe threads and create a secure seal.
- Expansion Caps: Insert into the pipe and tighten internally to expand and seal.
Threaded caps are typically preferred for permanent solutions. Expansion caps may be useful when threads are damaged.
Proper Sizing
Using the wrong size can lead to leaks or difficulty accessing the cleanout later. Measure carefully and verify the pipe diameter before buying a replacement.
If unsure, bring the old cap to a hardware store for comparison or consult a plumbing professional.
Preventing Future Sewer Cap Problems
Replacing a sewer cap is relatively simple, but preventing damage in the first place is even better. A few proactive steps can protect your system for years.
Regular maintenance is especially important in climates with heavy rainfall and seasonal changes.
Perform Routine Visual Inspections
Check your cleanout area every few months. Look for:
- Cracks or visible wear
- Loose fittings
- Soil erosion around the pipe
- Signs of tampering or damage
Early detection prevents larger issues.
Keep Landscaping Clear
Avoid planting shrubs or trees directly over or near the cleanout. Roots can shift soil and damage connections over time. Keeping the area accessible also ensures quick response during emergencies.
Protect Against Lawn Equipment Damage
Be mindful when mowing or edging around the cleanout. Consider installing a protective cover or marking the area clearly.
Schedule Periodic Sewer Inspections
Even if the cap appears fine, underlying sewer lines can deteriorate with age. Professional inspections can detect small cracks or root intrusion before they escalate.
Homeowners in Seattle and surrounding areas benefit greatly from preventative care, especially given the region’s wet weather conditions that can stress underground plumbing systems.
The Bigger Picture of Sewer System Health
Your sewer cap is only one piece of a larger system that works continuously behind the scenes. While it may seem small, it contributes to the overall safety, sanitation, and functionality of your home.
Neglecting minor components often leads to significant repairs. A missing or damaged cap can introduce debris that causes clogs, which then lead to pressure buildup and potential pipe cracks. Over time, small problems escalate into major disruptions.
Understanding how each part of your plumbing system connects helps you make informed decisions about maintenance and repairs. Staying proactive protects both your home’s value and your family’s health.
Protect Your Home With Brewer Sewer
A properly installed sewer cap keeps your plumbing system sealed, protected, and functioning as it should. Whether you are dealing with a simple cracked cap or signs of a larger sewer line issue, prompt action makes all the difference.
Homeowners in Seattle and surrounding areas trust Brewer Sewer for reliable, professional plumbing solutions. If you suspect a problem or need expert guidance, contact us today through our contact page to schedule service. Brewer Sewer is ready to help safeguard your home and restore peace of mind.